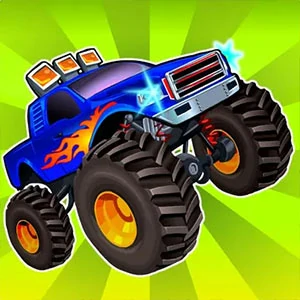
Angled landings roll the truck
Save the boost for what blocks the route
Finish-line task
The round objective is to cross the wrecked course while keeping the truck running.
Pick the line
Start by reading the terrain before applying full acceleration. Enter climbs with enough momentum, ease off before uneven crests, and prepare the vehicle's balance for landing. Preserve control first; speed can be added once a section has a repeatable line.
Steering language
Use the shown acceleration, balance, attack, and boost keys or touch buttons.
The opening stretch
For the opening pass, use boost on a clear, stable section where the next landing is visible. Activating it immediately before unknown or uneven terrain reduces recovery time.
Upcoming hazards
During play, keep this objective in view: Cross the wrecked course while keeping the truck running. Use the stated control once, then read the terrain before applying full acceleration.
Recover before the next turn
If progress stalls, reload the frame before changing anything else. Most stalls clear on a refresh, and the run restarts from the same wave.
A flat landing keeps the wheels down
How do I control Monster Wheels Apocalypse?
A useful answer for this round: use the shown acceleration, balance, attack, and boost keys or touch buttons.
When is boost safest to use?
The practical fix is: use boost on a clear, stable section where the next landing is visible. Activating it immediately before unknown or uneven terrain reduces recovery time.
Split the opening stretch into two jobs rather than trying to do both at once. The first job is reading: roll into the course at partial acceleration and let the terrain show you where the crests sit and where the surface goes uneven. The second job is driving: once the landing of a section is visible from the takeoff, that section has become a line you can repeat, and repeating it is the only point at which extra speed stops costing you recovery time. Riders who skip straight to the second job end up braking into every crest they did not see, and the braking is what turns a survivable bump into a roll.
Keep one question running through every section: if the truck lands badly here, is there a place to gather it back? On a short, even stretch between wrecks the answer is usually yes, and that is where boost belongs. On a climb where the ground behind the crest is hidden, the answer is no, and holding the throttle back is the cheaper choice even though it looks slower on screen. Nothing in the objective says the course is crossed quickly, only that the truck is still running when it gets there.
Landings are worth more attention than speed on this course. A flat, level touchdown keeps the wheels down and preserves whatever momentum the section already gave you, while an angled one spends that momentum on a roll and hands you a restart instead of progress. Line the truck up before takeoff, not during the fall. If a stretch keeps flipping the vehicle no matter how you enter it, the problem is the entry angle rather than the pace, so ease off on the approach and let the frame settle before you touch down.
This course rewards patience over reflex. Players who enjoy reading terrain, holding something in reserve for the moment it is actually needed, and replaying a section until a line becomes repeatable will find plenty to work with. Players who want constant pressure on the throttle, quick lap turnarounds, or a vehicle that can be thrown at obstacles and survive the mistake will find the truck unforgiving, because there is no recovery once the wheels leave the ground at a bad angle. The objective stays the same the whole way through: cross the wrecked course while keeping the truck running.